

How to Overhaul Motors on Ships?
Most of the motors in the ship’s engine room are continuous running motors connected to a pump or compressor or some other machinery. Like any other mechanical machinery, motors also have their own running hours, after which, the complete overhauling of the motor is to be done to ensure efficient working and performance. Also, if any other parameters such as voltage, current or insulation resistance is abnormal or the motor came in contact with water (due to flooding or water leakage), the overhauling of motor is to be performed.
Overhauling a Motor
In motor construction, the air gap between the stator and the rotor is very less. If there is a little deviation in the shaft rotation, the rotor will slowly start touching the stator (In this condition, you can feel much more vibrations in the motor), which can lead to short circuit and burning of windings.
The scheduled maintenance of motor should be carried out in such a way that the motor does not reach this stage. Thus, proper overhauling of the motor is of great importance.
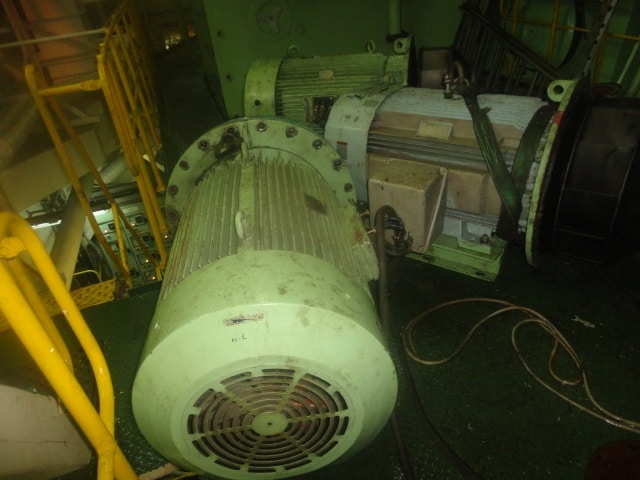
Before overhauling the motor, rotor running hours should be calculated, along with the lifetime of the bearing (running hours). The bearing must be renewed if required. In the motor, bearings are most susceptible to damages from friction during transmission.
How To Do Motor Overhauling?
Insulation test:
Checking the insulation of the stator winding is very important before and after the overhaul procedure. Multimeter is used for this purpose, with its one probe connected to the winding and other to the earth with switch selected in the resistance knob.
Dismantling:
Note: Before dismantling any part of the motor or motor connection, marking of both motor housing and connection wires is very important. This will ensure that the boxing back procedure is smooth and there is no mismatch of parts. Also check the direction of the motor rotation before stopping the motor for overhauling.
Before overhauling the motor, pre-planning of removing and fixing back the motor safely in place must be discussed and implemented (depends on place where it’s fixed and also on the size of the motor) otherwise the load side (for e.g. Pump connected to motor) will be damaged by the motor shaft. The motor can be connected to the load as vertically coupled load and horizontally coupled load.
Horizontally coupled having two types:
- Hinge mounted (Must be done very carefully)
- Base mounted
Dismantling can be done in two ways:
a. In place (On board ship, it is mostly applicable for very big vertically coupled motor to load)

- Removing the motor from the place by chain block
- Remove the coupling and key
- Keep the motor in place and fix the nuts
- Open the motor from top (cooling fan side)
- Take out the rotor by chain block, take out the stator winding separately
b. Out place
- Take out the motor from the place and keep it in a horizontal position
- Open the motor from any one side
- If it’s a small motor take out the rotor
- If it’s a huge motor keep the rotor inside and open the bearings using a good bearing puller
After any one of the above two processes are completed, perform the following procedure:
- Removal of Bearing Housing Cover:
While removing the bearing housing cover, note that some motors will be having inner bearing cover tightened with nut bolts. Remove it carefully.
In other constructions the bearing housing cover is locked with bearing by a circle clip. Whenever removing the housing cover on both sides (Driving End & Non Driving End) make sure proper care is taken while handling.
- Removal of Bearing or Coupling:
Use a suitable puller (depends on the size of the bearing or coupling); mostly use the 3 arm puller as it has a good pulling strength.

– First use the puller by barely applying any pressure and try to take out the bearing or coupling,
- If it’s not coming out even after enough load, use a pipe and extend the tightening spanner and try to remove the bearing
- If the bearing is still stuck at the original position, heat the bearing or coupling up to 100 deg. C while it’s locked with the puller and apply little pressure
- If the bearing or coupling is not coming out with the above tricks, the last method is to apply the load on puller through hydraulic jack along with heating
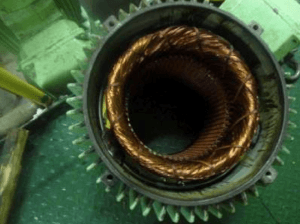
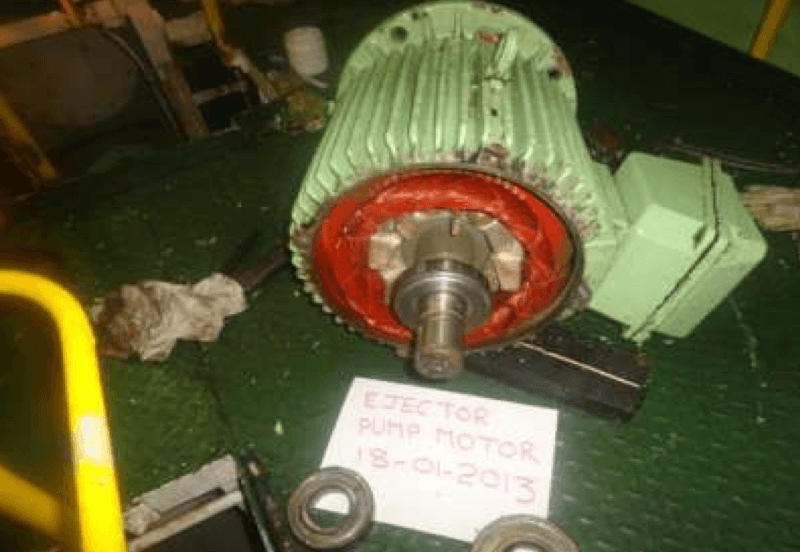
- After opening the stator cover, thoroughly inspect the inside condition of the stator. If there is little damage in rotor, repair it
- If the insulation of the motor is less, clean the windings by an evaporative type cleaner and give sometime to let it dry. Apply insulation coating and heat the winding around 40 deg. C to 50 deg. C by means of powerful halogen lamps
- Clean both side bearing housing covers, cooling fan, body of the motor and protection cover of the motor with electro clean or suitable chemical
- Insertion of bearings:
Clean the shaft on both ends and heat the new bearing up to 70 deg. C to avoid tight insertion of the bearing in the shaft. Do this for both sides.
Wait for 20 minutes, let the bearing cool down, and after that insert the bearing housing cover from one side.
- Box back the motor:
Before boxing up the motor, do the insulation test again to compare with previous values. If the values are on higher side, start boxing back, otherwise heat up the winding for some more time with Halogen light.
- Box up to be done as per the markings
- Take up the rotor with one side cover (If bearing locking nut were there in one of the sides, prefer that to be the first to assemble) and push it inside the stator
- Lock with one side nut bolts, slowly insert the other side cover, do the hammering slowly by wooden hammer, insert and lock with nut and bolts, and the rotor will now apply load on the bearing
- Gently tighten the bolts using opposite tightening method. Insert the cooling fan and protection cover, and once again verify the tightness of the bolts
Fix in place the motor as per the marking and give the connections accordingly.
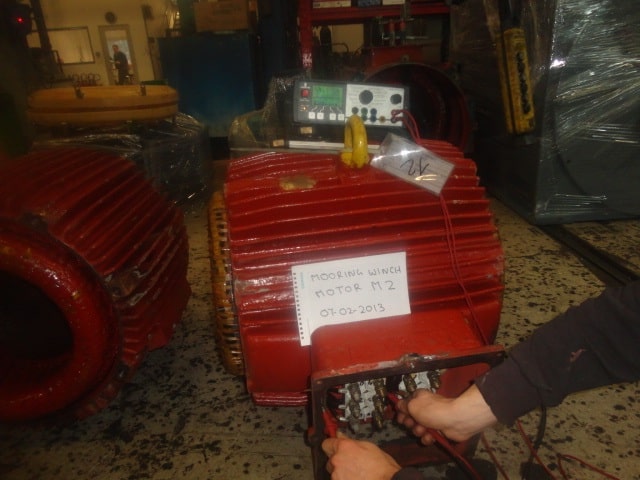
Try out and check the Amperage. Compare with rated amperage and before overhaul amperage.
Note: Check the direction of rotation after overhauling. If it indicates opposite direction, it means the connection done is wrong.
Are we missing anything important? Let us know in the comments below.
Do you have info to share with us ? Suggest a correction

Subscribe To Our Newsletters
By subscribing, you agree to our Privacy Policy and may receive occasional deal communications; you can unsubscribe anytime.
Web Stories


I am a marine engineer officer. For 30 years. Find this information very useful. It give me more confident if ask me to over haul electric motor without the electrical engineer on board
What checks to be done on a motor overhauled at shore before installing back on board ship.
Very Useful !!
glad you find it useful @Getachew