

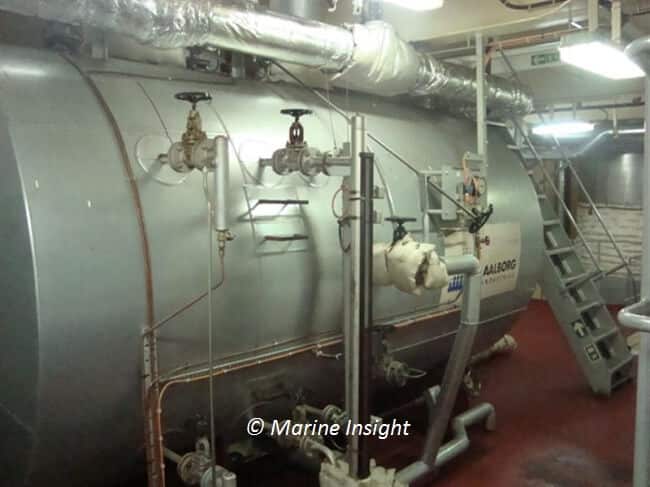
Procedure for Boiler Gauge Glass Maintenance on a Ship
A gauge glass is used at many places on a ship. Gauge glass is a kind of a level indicator which shows the amount of fluid in a tank or any other storage place on a ship. In this article we will learn as to how the maintenance of a gauge glass is done on a ship. Gauge glass are mainly used in boiler of the ship.
Before learning about boiler gauge glass maintenance lets take a quick look at the working of a gauge glass.
Working of Boiler Gauge Glass
A gauge glass has two different compartments – top side and bottom side, connected to two different sections of a boiler. The top side of the gauge glass is connected to the steam side of the boiler and the bottom side is connected to the water side of the boiler. The pressure on both sides will equalize and the level of water can be seen in the gauge glass.
Maintenance During service check up
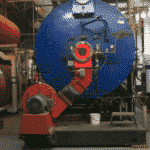
Refer the diagram for better understanding of boiler gauge glass.
- Check the nut (1) and tighten if necessary.
- Bolts on the boiler flanges are to be checked, if loose tighten them.
- Check if union nuts are loose.
- Bolt from screw 7 with cocks in open position.
- If the leak can not be stopped from water side on the gauge glass by tightening the screw 7 then the sealing surface of the cock plug 8 my be damaged or corroded.
Gauge glass blow down procedure
Gauge glass should be blown before lighting up of boiler, after stopping the boiler and regularly if the level in gauge glass is suspected to be wrong.
Cleaning the water side of gauge glass
- Close the valve S and W as shown in the figure.
- Now open the cock W and see if the water is coming out of the drain valve D indicating the drain line is clear.
- Now close the drain valve D and keep the cock W open and see if the water level rises in the gauge glass; this indicates the line to gauge glass is also clear.
- Repeat the steps two to three times to remove muds and deposits inside.
Cleaning the steam side of gauge glass
- Close both the cocks S and W.
- Now open the cock S and open the drain valve D and see the steam is coming out. The drain is opened only for 1-2 seconds only as steam may damage the sealing and service life decreases.
Putting the gauge glass in normal operating position
- Close all the valves S, W and the drain valve D.
- Now open the cock W and let the water fill inside the gauge glass.
- Now open the cock S and then the level can be seen as the pressure equalizes.
Disclaimer: The authors’ views expressed in this article do not necessarily reflect the views of Marine Insight. Data and charts, if used, in the article have been sourced from available information and have not been authenticated by any statutory authority. The author and Marine Insight do not claim it to be accurate nor accept any responsibility for the same. The views constitute only the opinions and do not constitute any guidelines or recommendation on any course of action to be followed by the reader.
The article or images cannot be reproduced, copied, shared or used in any form without the permission of the author and Marine Insight.
Do you have info to share with us ? Suggest a correction
Latest Marine Technology Articles You Would Like:


Related Posts
- Blow-Down Procedure for Marine Boilers

- 6 Practical Tips On Improving Boiler Efficiency for Professional Marine Engineers
- What To Do During Marine Auxiliary Boiler’s Flame Failure or Fuel Pump Tripping?
- Boiler Starting Failure – Troubleshooting
- Understanding Boiler Feed Water Contamination
- Understanding Boiler Refractory And Its Types


Subscribe To Our Newsletters
By subscribing, you agree to our Privacy Policy and may receive occasional deal communications; you can unsubscribe anytime.
Web Stories


how to remove obstruction from guage glass steam and water connections???
Why do we open water side first when putting back into operation
Why water cock is opened first to fill the gauge glass, instead of steam cock?
steam cuases damages
How many type of gaug glass put at boiler .
what is boiler blow through procedure………?
If steam cock is opened first and then later water cock, water will not rise up because of the high pressure of steam and thus we will not get correct reading.
You can open either water or steam cock first. Water and steam is the same pressure inside the boiler( pls refer to flluid-pressure laws). We usually open the water cock first just simply because of we want to know the water level in the boiler first.
ii SEEM TO RECALL THAT LIVE STEAM SHOULD NEVER HIT STATIC WATER TO AVOID STEAM HAMMER, SO IT WOULD SEEM THAT STEAM SHOULD BE OPENED FIRST? ANY STEAM QUEENS OUT THERE?